7 Advanced Apple Notes Features Every iPhone User Needs to Master
G’day Auckland iPhone users! Your Notes app is way more powerful than just jotting down shopping lists.
After helping thousands of Kiwis with their Apple devices, I’ve seen how these advanced apple notes features can seriously boost your productivity.
Whether you’re a Ponsonby professional or a Manukau student, these tricks will transform how you use your iPhone. Let’s dive into the apple notes advanced features that’ll make your mates jealous.
Table of Contents
1. Quick Notes – Your Digital Notepad on Steroids
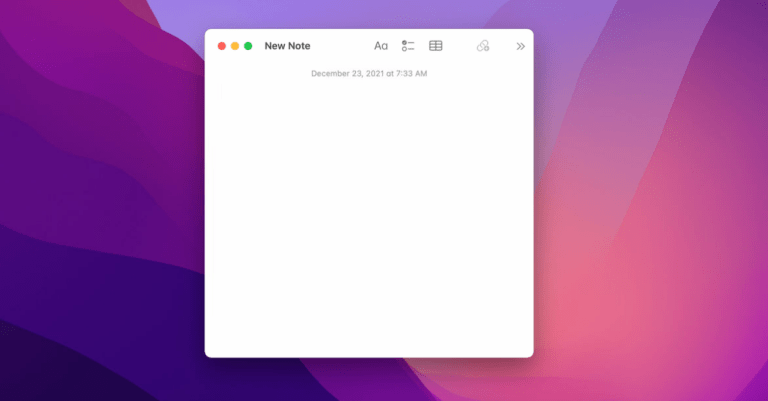
Quick Notes are the business for capturing thoughts on the fly. Perfect when you’re rushing through Queen Street or stuck in Auckland traffic.
How to Use Quick Notes:
On iPhone:
- Swipe up from the bottom-right corner with Apple Pencil (iPad) or your finger
- Start typing immediately – no mucking about
From Safari:
- Highlight any text on a webpage
- Tap Share → “Add to Quick Note”
- Your note saves the text plus a link back to the page
This iphone notes app features gem is brilliant for saving recipes from Auckland food blogs or grabbing addresses for weekend adventures.
2. Linked Notes – Connect Your Thoughts Like a Pro
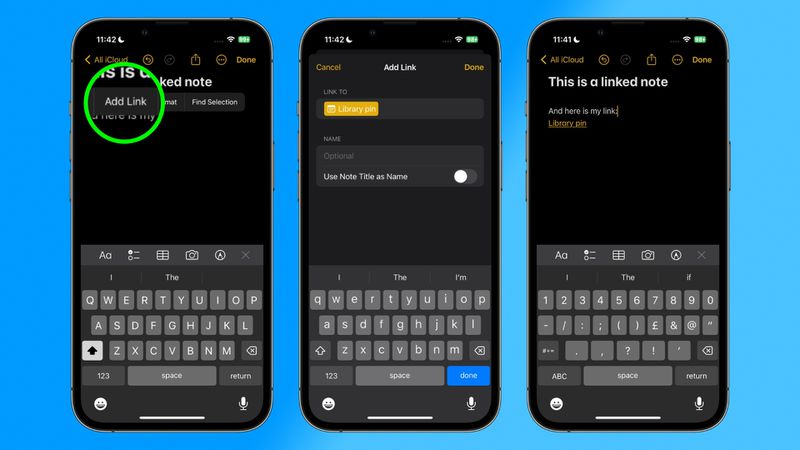
Linked Notes let you create connections between different notes. Think of it as building your own personal wiki.
Setting Up Linked Notes:
- Open your first note
- Select the text you want to link
- Tap Share → “Copy Link”
- Navigate to your second note
- Long-press and paste – boom, you’ve got a clickable link
Central Auckland students love this for connecting lecture notes to assignment ideas. It’s like having a digital mind map in your pocket.
3. Save Notes as PDF – Lock in Your Formatting
Sometimes you need your notes set in stone. The apple notes app features include PDF export – perfect for sharing with colleagues or keeping permanent records.
Converting Notes to PDF:
- Open your note
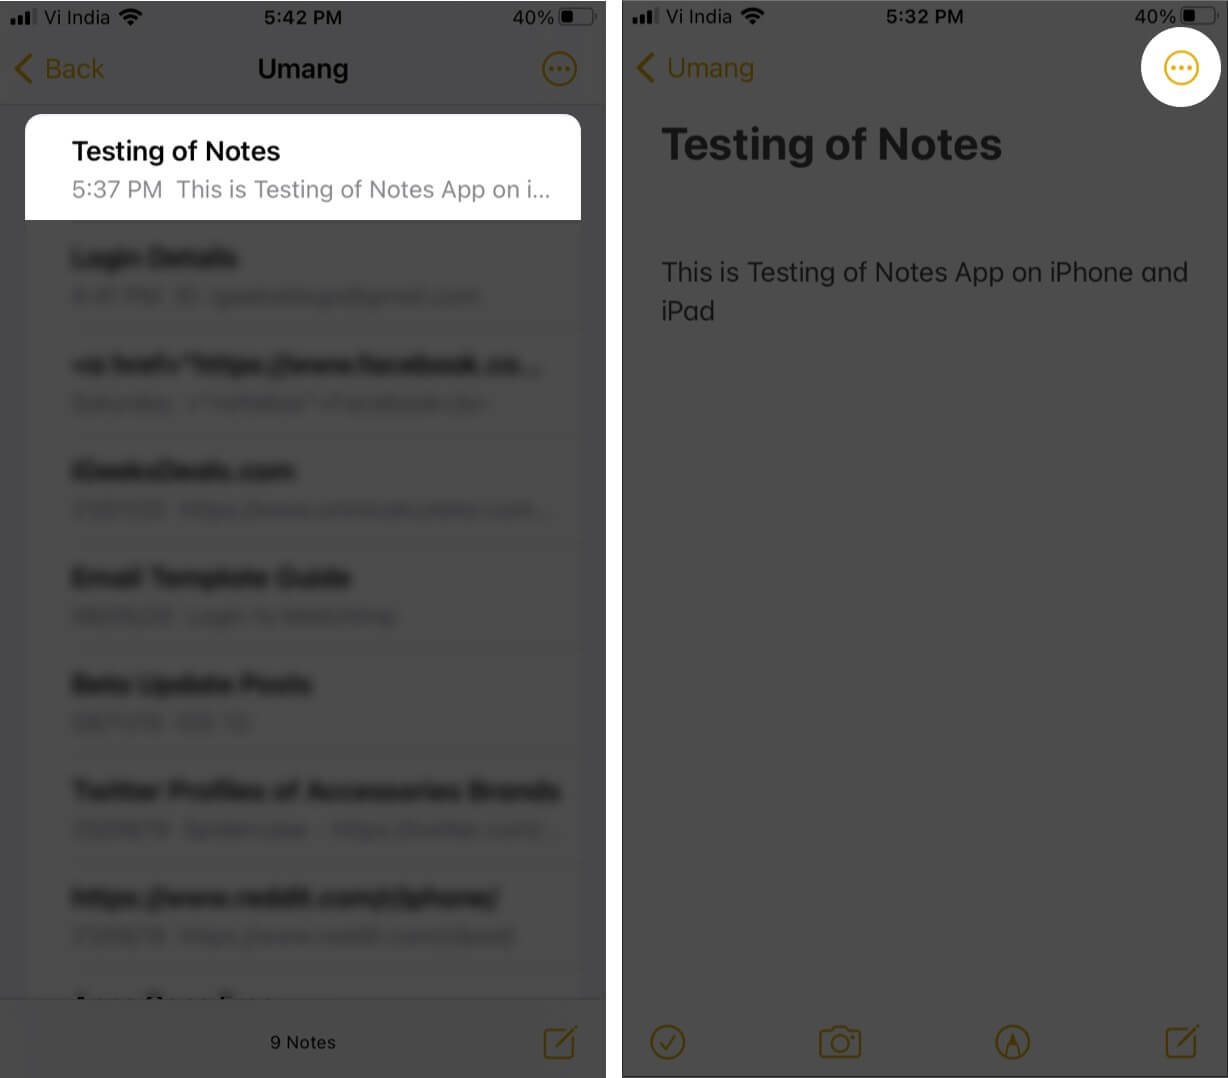
- Tap the three dots (⋯) at the top-right
- Select “Send A Copy” → “Markup” → “Done”
- Choose “Save File To” → “Save”
Your note’s now a proper PDF, safe from accidental edits. Handy for Kiwi tradies who need to share project specs or North Shore mums organising school events.
4. Synced Notes – Access Everywhere
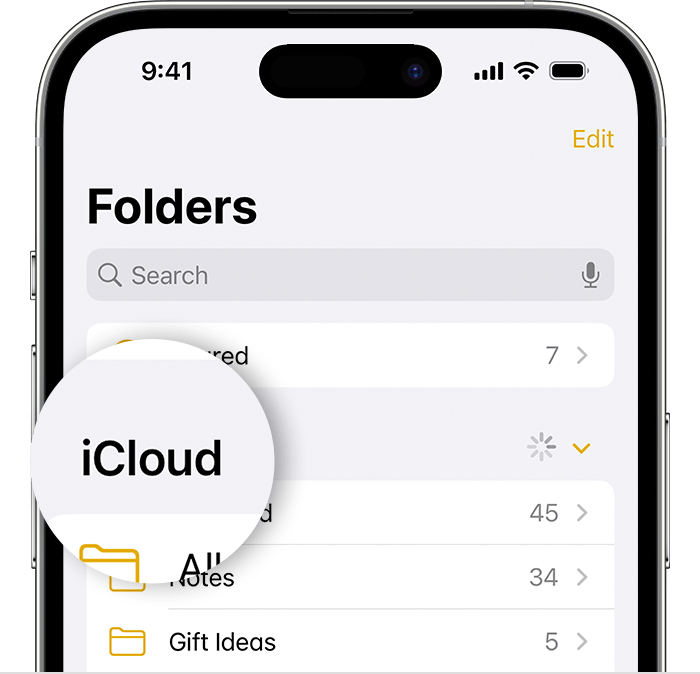
Notes app features shine when your devices work together. Synced notes mean you can start a shopping list on your iPhone and finish it on your iPad at home.
Setting Up Note Sync:
- Go to Settings → Apple ID → iCloud
- Enable “Notes”
- Repeat on all your devices
Your notes now update across all devices when connected to wifi. Sweet as for Auckland commuters switching between phone, iPad, and Mac.
5. Document Scanning – Ditch the Scanner
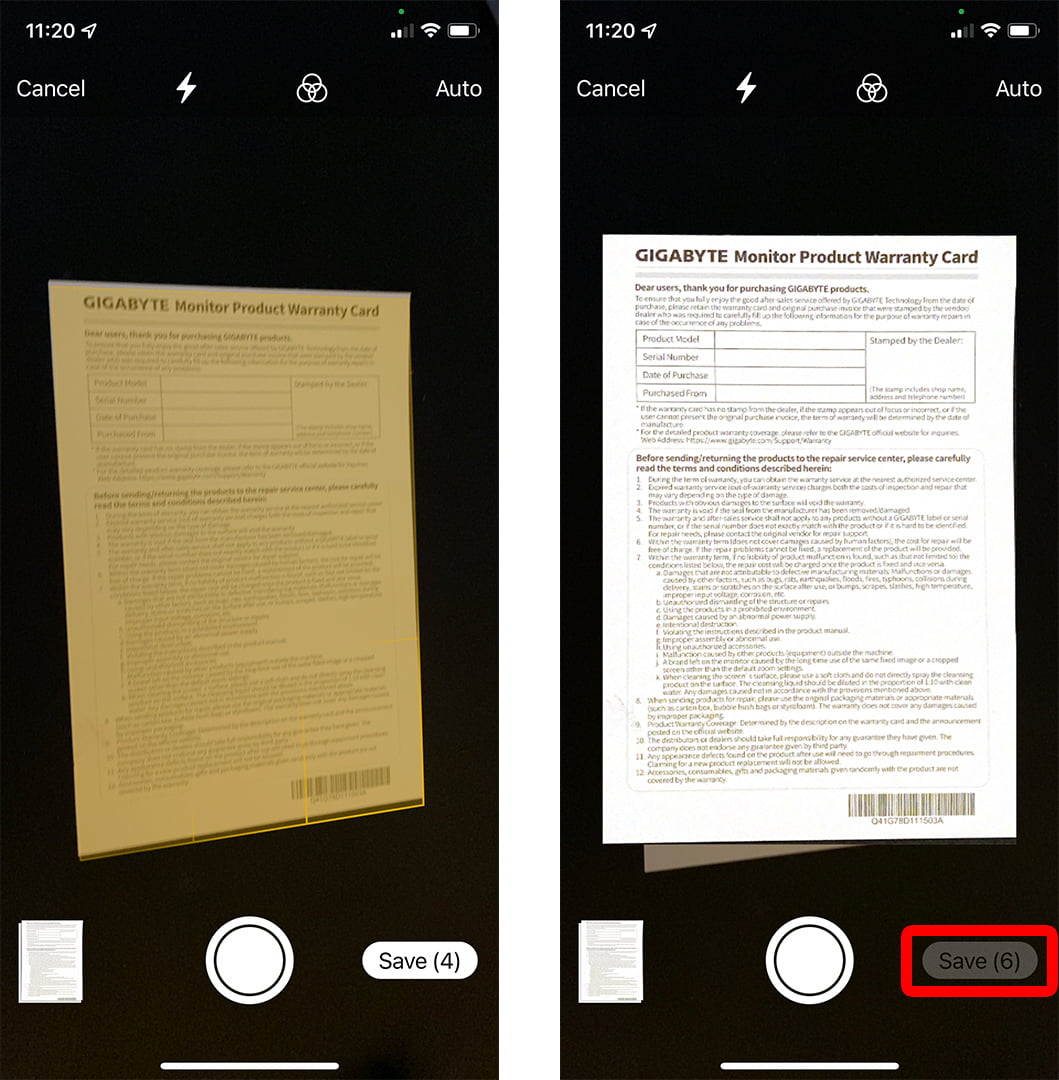
Your iPhone’s camera becomes a powerful scanner with this apple notes features trick. No more trips to Print shops in Newmarket.
Scanning Documents:
- Open Notes and create a new note
- Tap the “+” icon → “Scan Documents”
- Line up your document and tap the shutter
- Adjust corners if needed, then “Save”
The scanned doc becomes a searchable PDF in your note. Perfect for receipts, contracts, or those pesky Auckland Council notices.
6. Password Protected Notes – Keep Secrets Safe
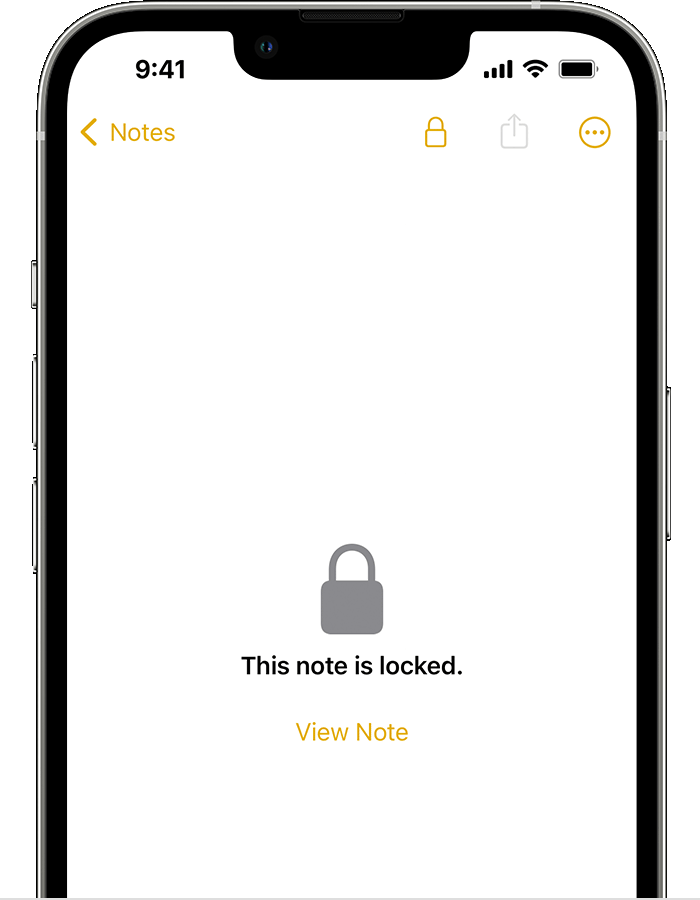
Some notes need extra security. Apple notes advanced features include password protection for sensitive info.
Locking Your Notes:
- Create your private note
- Tap the three dots (⋯) → “Lock”
- Set your password (first time only)
- Your note’s now locked tight
Great for storing passwords, personal info, or surprise party plans for your partner. Auckland business owners love this for confidential client details.
7. Text Recognition – Copy Text from Photos
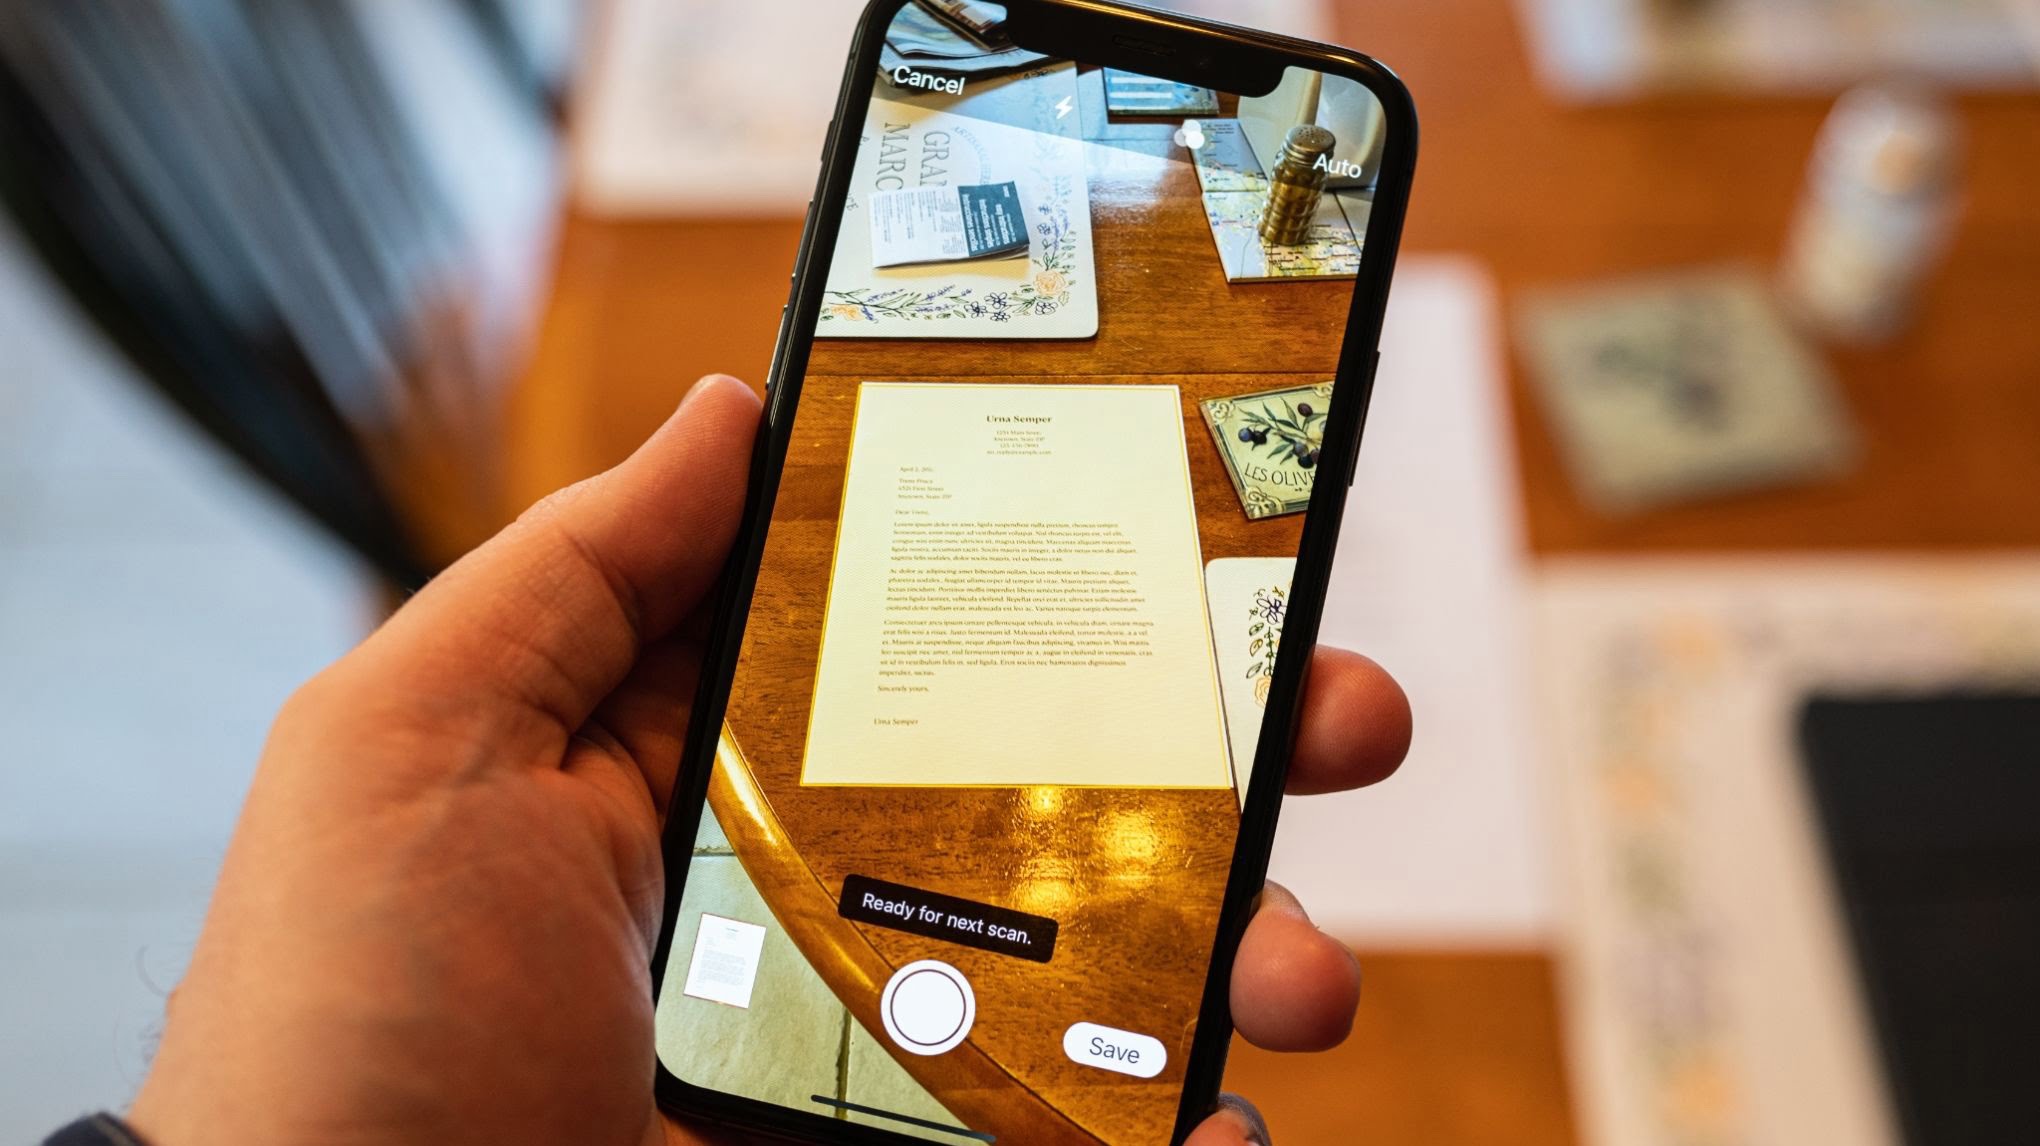
This apple notes shortcuts feature is pure magic. Your iPhone can read text from photos and convert it to editable text.
Using Text Recognition:
- Take a photo of any document in Notes
- Tap the photo once it’s saved
- Look for highlighted text areas
- Tap “Copy Text from Image” from the three dots menu
- Paste the text wherever you need it
Perfect for grabbing info from business cards at Auckland networking events or copying text from old documents.
Pro Tips for Auckland iPhone Users
If you want to really fly through your notes, a few extra tips can make all the difference. Here’s how to boost your Notes app game even further.
Apple Notes Keyboard Shortcuts (iPad/Mac):
- Cmd + N: New note
- Cmd + Shift + N: New folder
- Cmd + F: Find in notes
- Cmd + Z: Undo (lifesaver!)
Organisation Hacks:
- Create folders for different areas (Work, Personal, Auckland Weekend Plans)
- Use hashtags in notes for easy searching
- Pin important notes to the top
Common Issues Auckland Users Face
Sometimes features of apple notes don’t work as expected. We see these issues at our repair centres:
- Notes not syncing (usually a wifi or iCloud issue)
- Scanning not working (camera problems)
- Password reset troubles
Get the Most from Your iPhone
Having trouble with any of your electronic devices? Your iPhone or MacBook not performing as it should?
Don’t stress – SMASHED IT’s got your back. Visit our expert technicians in Parnell, Ponsonby, or our Papakura partner store. We’ll get your device running sweet as with warranty-backed service you can trust.
