How to Factory Reset Microsoft Surface: A Step-by-Step Guide
Right, so your Surface is playing up and you’re thinking about a factory reset?
As a senior technician who’s been fixing ms surface devices across Auckland for years, I can tell you it’s often the best solution when your Surface starts acting like a right dag.
From frozen screens in Ponsonby cafés to corrupted files affecting central Auckland businesses, we know what works.
Let’s get your Surface sorted, yeah?
Table of Contents
What Is a Factory Reset Microsoft Surface?
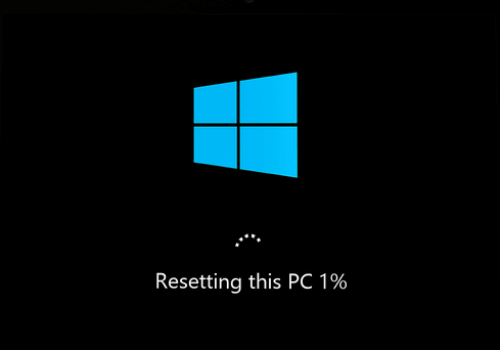
A factory reset microsoft surface (also called a hard reset microsoft surface) wipes your device clean and reinstalls Windows from scratch. Think of it as giving your Surface a fresh start—like it just came out of the box.
This process removes:
- All your personal files and photos
- Installed apps and programs
- Custom settings and preferences
- Any nasty viruses or malware
Sweet as for fixing stubborn problems, but you’ll lose everything unless you back it up first.
When Should You Factory Reset Your Surface?
Here’s when a factory restore surface makes sense:
| Performance Issues | Security Concerns | Major Software Problems |
|---|---|---|
| Surface runs slower than a Queen Street bus in rush hour | Virus infections that won’t budge | Windows won’t start properly |
| Apps crash constantly or freeze up | Suspicious behaviour or unknown programs | Blue screen errors (BSOD) |
| System errors keep popping up | Privacy concerns before selling | Corrupted system files |
| Battery drains faster than usual | – | Recent updates gone wrong |
Pro tip from our Parnell workshop: Try a simple restart first. Hold the power button for 20-30 seconds, then restart. This soft reset fixes about 30% of Surface issues without losing data.
Before You Start – Essential Prep Work
Before you erase all data surface, sort these bits:
1. Back Up Your Data
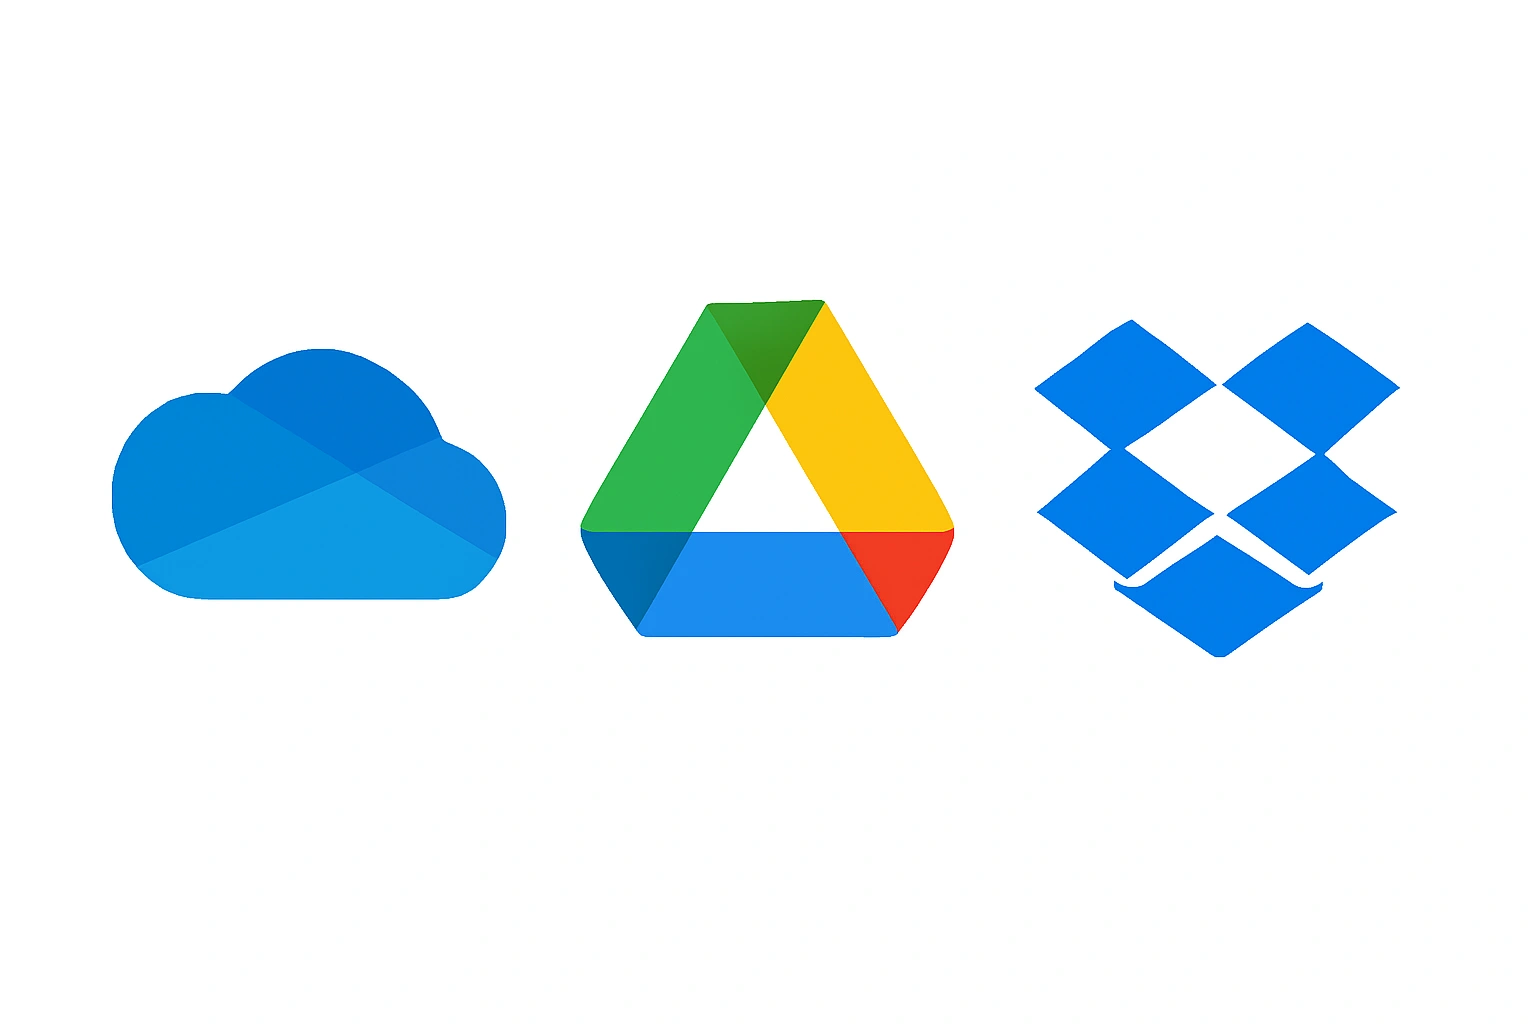
This is crucial, bro. Even if you choose “keep my files,” things can go sideways.
| Cloud Backup | Physical Backup |
|---|---|
| OneDrive (built into Windows) | External hard drive |
| Google Drive | Large USB stick (32GB+) |
| Dropbox | – |
2. Gather Your Licenses
Write down or screenshot:
- Microsoft Office product keys
- Adobe Creative Suite licenses
- Any paid software serial numbers
- Important login details
3. Power Requirements
- Plug your Surface into the wall
- Ensure at least 50% battery charge
- This prevents power issues during reset
Warning: A dead battery during reset can brick your Surface. We’ve fixed dozens of these at our Parnell store—save yourself the hassle.
Method 1: Factory Reset via Windows Settings (Easiest)
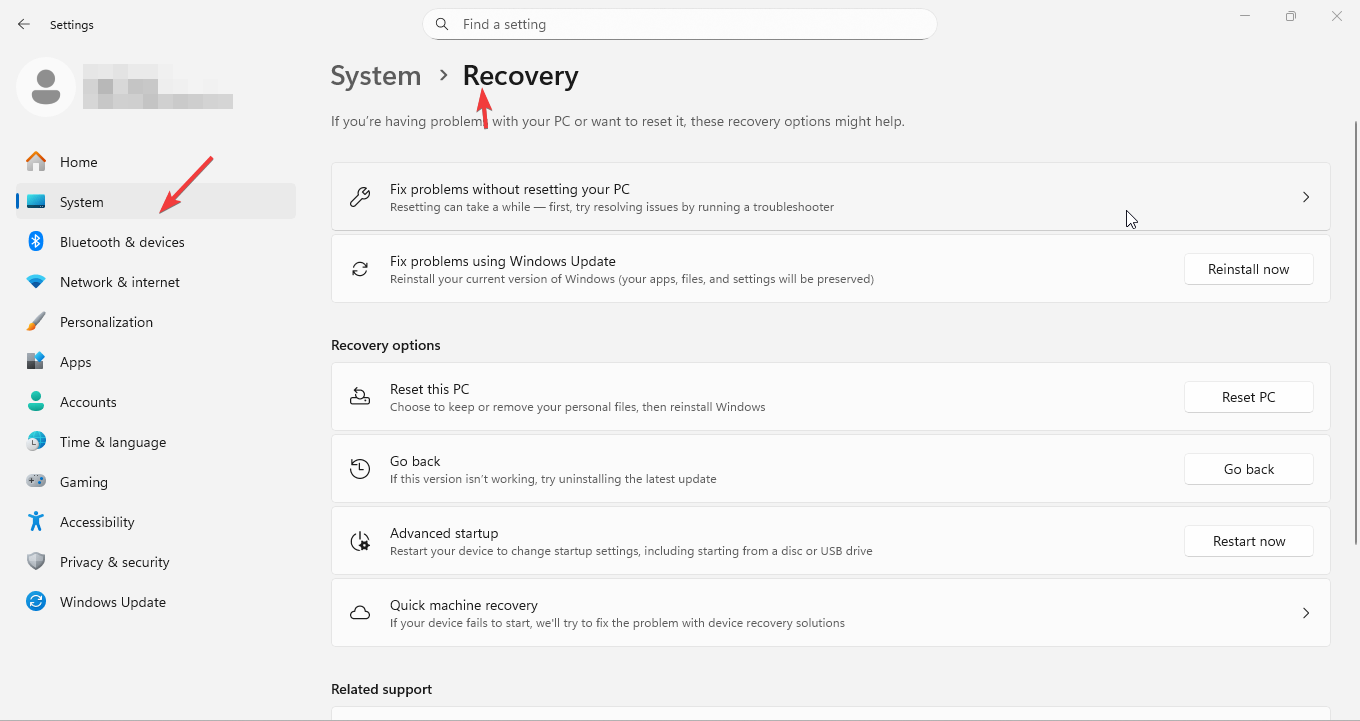
This is your go-to method when Windows still works properly.
Step-by-Step Guide
- Open Settings
- Press
Windows key + I - Or click Start → Settings
- Press
- Navigate to Recovery
- Windows 11: Settings → System → Recovery
- Windows 10: Settings → Update & Security → Recovery
- Start the Reset
- Find “Reset this PC”
- Click “Reset PC” (Win 11) or “Get started” (Win 10)
- Choose Your Option
Keep my files: Removes apps and settings but keeps personal files
- Good for: Troubleshooting performance issues
- Faster process
- Still risky—backup first
Remove everything: Complete wipe (recommended for selling)
- Good for: sell surface reset preparation
- Maximum security
- Takes longer but more thorough
- Select Download Method
Cloud download (recommended):
- Downloads fresh Windows from Microsoft
- Best for virus removal or major corruption
- Requires internet connection
- Takes longer but cleaner result
Local reinstall:
- Uses files already on your Surface
- Faster process
- Good for minor issues
- Additional Settings
- Click “Change settings” if available
- Choose whether to restore pre-installed apps
- Select data wiping method
- Confirm and Start
- Click “Next” then “Reset”
- Your Surface will restart multiple times
- Process takes 1-3 hours
Method 2: Reset from Sign-in Screen
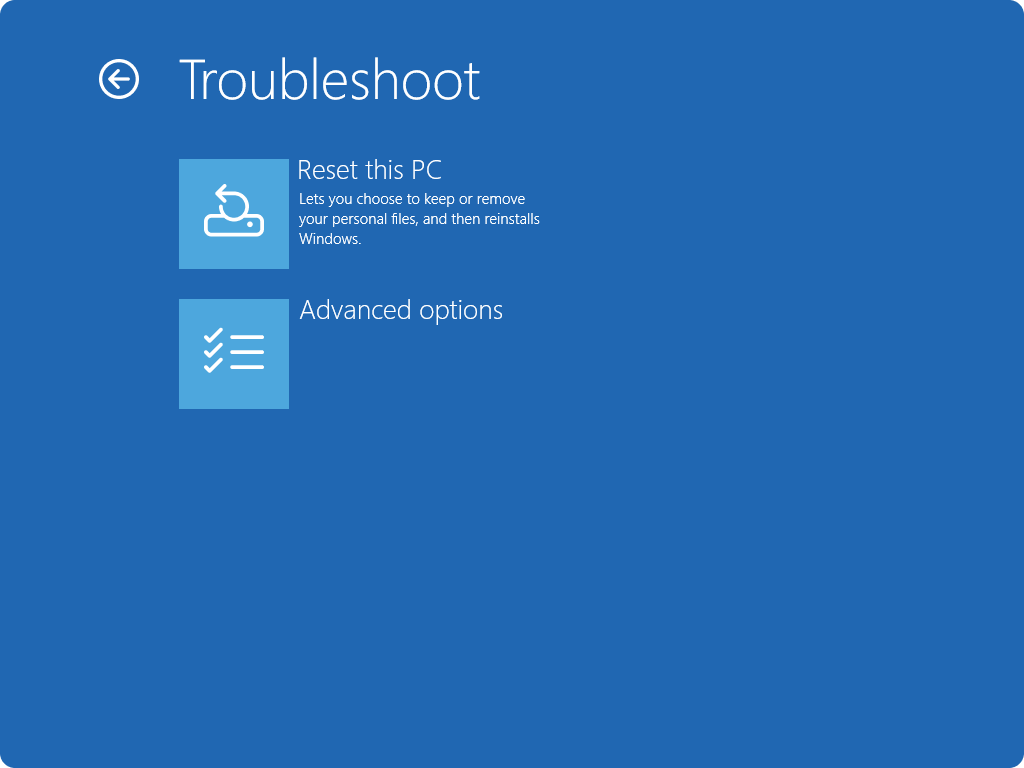
Perfect when you can’t get into Windows properly—common issue we see from Papakura to Ponsonby.
When to Use This Method
- Forgotten password or PIN
- Windows won’t start normally
- Stuck on lock screen
- Blue screen errors
Step-by-Step Process
- Get to Sign-in Screen
- Press
Windows key + L - Dismiss any lock screen
- Press
- Access Recovery Mode
- Hold
Shiftkey - Click Power button (bottom right)
- Select “Restart” while holding Shift
- Hold
- Navigate Recovery Options
- Your Surface boots to “Choose an option”
- Select “Troubleshoot”
- Choose “Reset this PC”
- Follow Same Options
- Same choices as Method 1
- Keep files vs Remove everything
- Cloud vs Local download
This method uses Windows Recovery Environment—it’s built into every Surface and works even when Windows is stuffed.
Method 3: USB Recovery Drive (Nuclear Option)
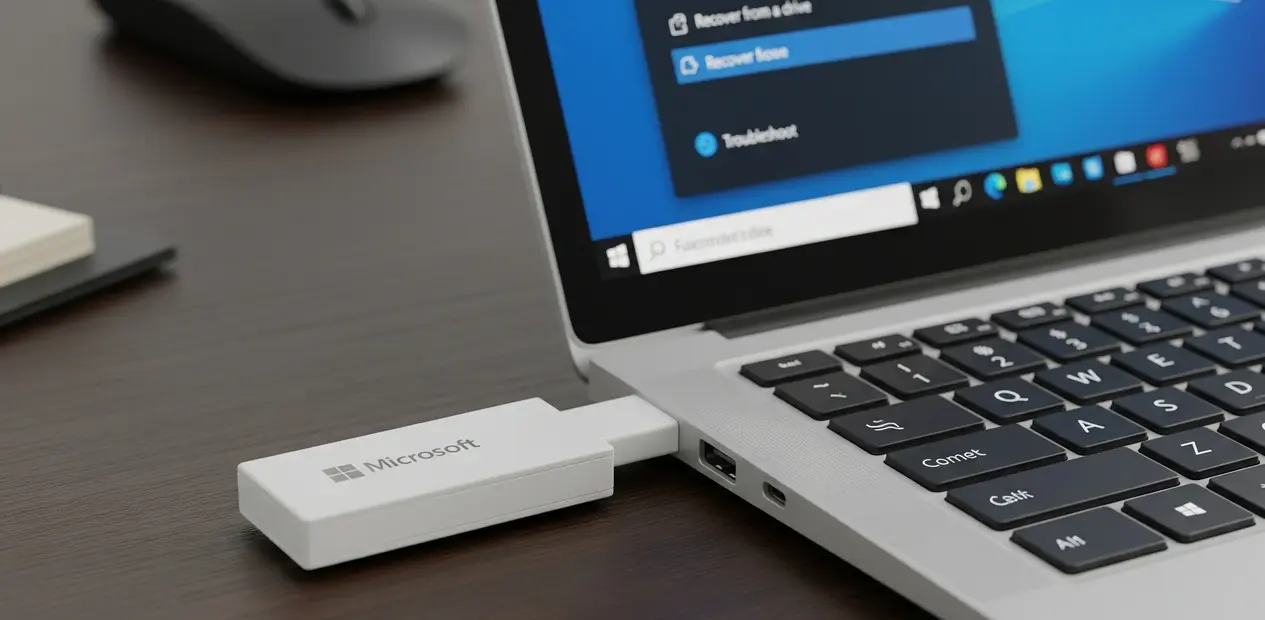
When all else fails, this is your lifeline. We use this method daily at SMASHED IT for severely corrupted Surfaces.
When You Need This Method
- Built-in reset options fail
- Surface won’t boot at all
- Severe virus infections
- Complete system corruption
Creating a USB Recovery Drive
USB Requirements:
- 16GB minimum (32GB recommended)
- USB 3.0 for speed
- Must be formatted to FAT32
Warning: This erases everything on your USB stick.
Step-by-Step USB Creation
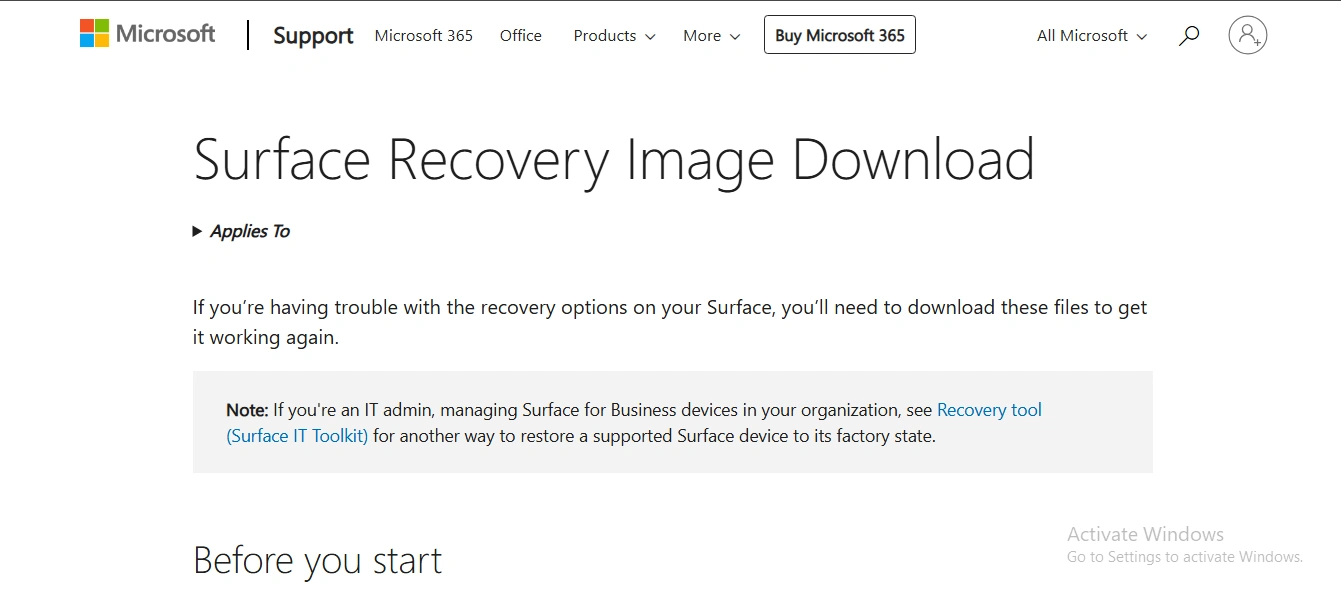
- Download Recovery Image
- Visit: https://support.microsoft.com/en-us/surface-recovery-image
- Sign in with Microsoft account
- Select your Surface model
- Download the .zip file
- Format USB Drive For drives over 32GB, use Command Prompt:
Open Command Prompt as administratorType: diskpartType: list diskType: select disk X (your USB number)Type: cleanType: create part priType: select part 1Type: format fs=fat32 quickType: activeType: exit
- Create Recovery Drive
- Search “Recovery Drive” in Start menu
- Uncheck “Back up system files”
- Select your USB drive
- Click “Create”
- Copy Recovery Files
- Extract downloaded .zip file
- Copy all files to USB root directory
- Replace any existing files
Booting from USB
Standard Method:
- Shut down Surface completely
- Plug in USB drive
- Hold Volume Down button
- Press and release Power button
- Keep holding Volume Down until spinning dots appear
Alternative Methods:
Via UEFI Settings (if needed):
- Hold Volume Up + Power button
- Release when Surface logo disappears
- Navigate to Boot Configuration
- Move USB Storage to top
- Exit and restart
For older Surface models: May need to disable Secure Boot in UEFI.
Reinstalling Windows
- Select Language/Keyboard
- Choose your preferences
- Choose Recovery Option
- Select “Recover from a drive”
- Skip recovery key if prompted
- Data Removal Choice
- “Just remove my files”: Faster, less secure
- “Fully clean the drive”: Slower but more secure (use for selling)
- Confirm and Wait
- Process takes 1-4 hours
- Surface restarts multiple times
- Don’t interrupt the process
Preparing Surface for Sale (Secure Erasure)
Planning to sell surface reset? Here’s how to protect your privacy:
Why “Fully Clean Drive” Matters
Standard deletion doesn’t actually remove data—it just marks space as available. Files can be recovered with special software. “Fully clean drive” overwrites data multiple times, making recovery nearly impossible.
Secure Sale Preparation Steps
- Choose “Remove Everything”
- Never use “Keep my files” for selling
- Select “Fully Clean the Drive”
- Takes 1-2 hours longer
- Worth it for privacy protection
- Use Cloud Download
- Ensures completely fresh Windows
- No traces of your data
- Remove Microsoft Account
- Sign out before reset starts
- Or remove device from account online
- Don’t Set Up New Account
- Leave Surface at initial setup screen
- Let new owner configure it
Troubleshooting Common Reset Problems
Even us pros at SMASHED IT see these issues regularly:
Reset Gets Stuck or Fails
Try System File Repair:
- Open Command Prompt as admin
- Run:
dism /online /cleanup-image /restorehealth - Then run:
sfc /scannow - Restart and try reset again
Use Startup Repair:
- Settings → Recovery → Advanced Startup
- Restart Now
- Troubleshoot → Advanced Options → Startup Repair
Last Resort: Use USB recovery drive method.
Surface Won’t Boot After Reset
This usually means corrupted boot files. Create and use a USB recovery drive to reinstall Windows completely.
USB Drive Not Recognised
Check These Issues:
- Drive must be FAT32 formatted
- Try different USB port
- Ensure UEFI allows USB boot
- Test with different USB drive
UEFI Settings Check:
- “Enable Boot from USB devices” = On
- “Enable alternate boot sequence” = On
- Disable Secure Boot (older models)
When DIY Doesn’t Work: Professional Help
Sometimes a factory reset won’t fix hardware issues. If your Surface still has problems after following this guide, you might be dealing with:
- Faulty motherboard components
- Screen damage
- Battery degradation
- Charging port issues
- Overheating problems
At SMASHED IT, our in-house electronics engineer can diagnose motherboard issues that no amount of software resets will fix. We see plenty of Surfaces from across Auckland where users tried everything before realising it’s a hardware fault. These are our services related to MS Surface.
Common signs you need professional help:
- Surface still crashes after clean install
- Random shutdowns continue
- Physical damage visible
- Charging problems persist
- Overheating issues
Your Surface Reset Success
A factory reset microsoft surface is like hitting the refresh button on your digital life. Whether you’re troubleshooting issues, preparing to sell, or just want that “new Surface” feeling again, following this guide will get you sorted.
Remember the key points:
- Always backup first (seriously, mate)
- Choose the right reset method for your situation
- Be patient—good things take time
- When in doubt, use cloud download option
- Secure erasure for selling/donating
Most Surface issues can be resolved with a proper factory reset. But if you’re still having dramas after trying these methods, don’t stress—that’s what we’re here for.
Need expert help with your Surface?
SMASHED IT offers same-day repairs with 4-month warranty on screen fixes. Our electronics engineer diagnoses complex motherboard issues.
Visit us in Parnell, Ponsonby, or our Papakura partner store. Auckland’s trusted Surface specialists since day one.
