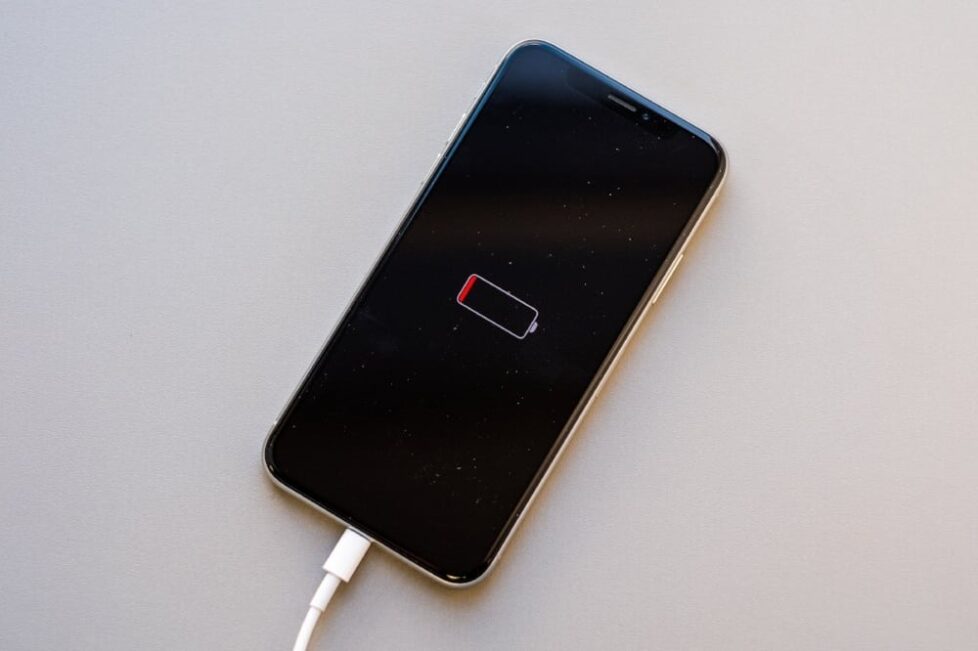
TL;DR: Your iPhone battery dying faster than a tourist’s sunscreen in Rotorua? This guide covers everything from DIY fixes to professional replacement options across Auckland.
Why Your iPhone Battery is Giving Up the Ghost
After 2-3 years, your iPhone battery starts playing up like a Wellington wind day. Here’s what’s happening:
- Battery degradation – Normal wear reduces capacity over time
- Charge cycles – Each full charge counts towards battery lifespan
- Heat damage – Auckland’s summer heat accelerates battery aging
- Software updates – Newer iOS versions can strain older batteries
Your battery health drops below 80%? Time for action, mate.
Can I Replace the Battery in My iPhone Myself?
Short answer: Technically yes, but it’s trickier than assembling IKEA furniture.
What You’ll Need for DIY iPhone Battery Replacement
- Specialised tools – Pentalobe screwdrivers, suction cups, spudgers
- Replacement battery – Genuine parts only (more on this below)
- Patience – 30-60 minutes depending on your iPhone model
- Steady hands – One wrong move and you’re looking at a $200+ screen repair
The Reality Check
Most Aucklanders who attempt DIY battery replacement end up at our Parnell or Ponsonby stores anyway. Here’s why:
- Adhesive strips break – Battery gets stuck like a stubborn possum
- Screen damage – Easy to crack when prying open
- Water resistance – DIY jobs often compromise sealing
- Warranty void – Apple won’t touch self-repaired devices
How to Replace iPhone Battery: Professional vs DIY
| Aspect | Professional iPhone Battery Replacement | DIY Battery Replacement |
|---|---|---|
| Pros | – Genuine batteries with warranty | – Lower initial cost |
| – Water resistance maintained | – Learn something new | |
| – Expert diagnosis of other issues | ||
| – Quick turnaround (same day service) | ||
| Cons | – Higher upfront cost | – Risk of further damage |
| – Need to travel to repair shop | – No warranty on work | |
| – Time-consuming process | ||
| – Potential safety hazards |
Genuine vs Fake Batteries: The Auckland Reality
Here’s the thing – Auckland’s flooded with dodgy batteries. We’ve tested hundreds:
Fake batteries typically last:
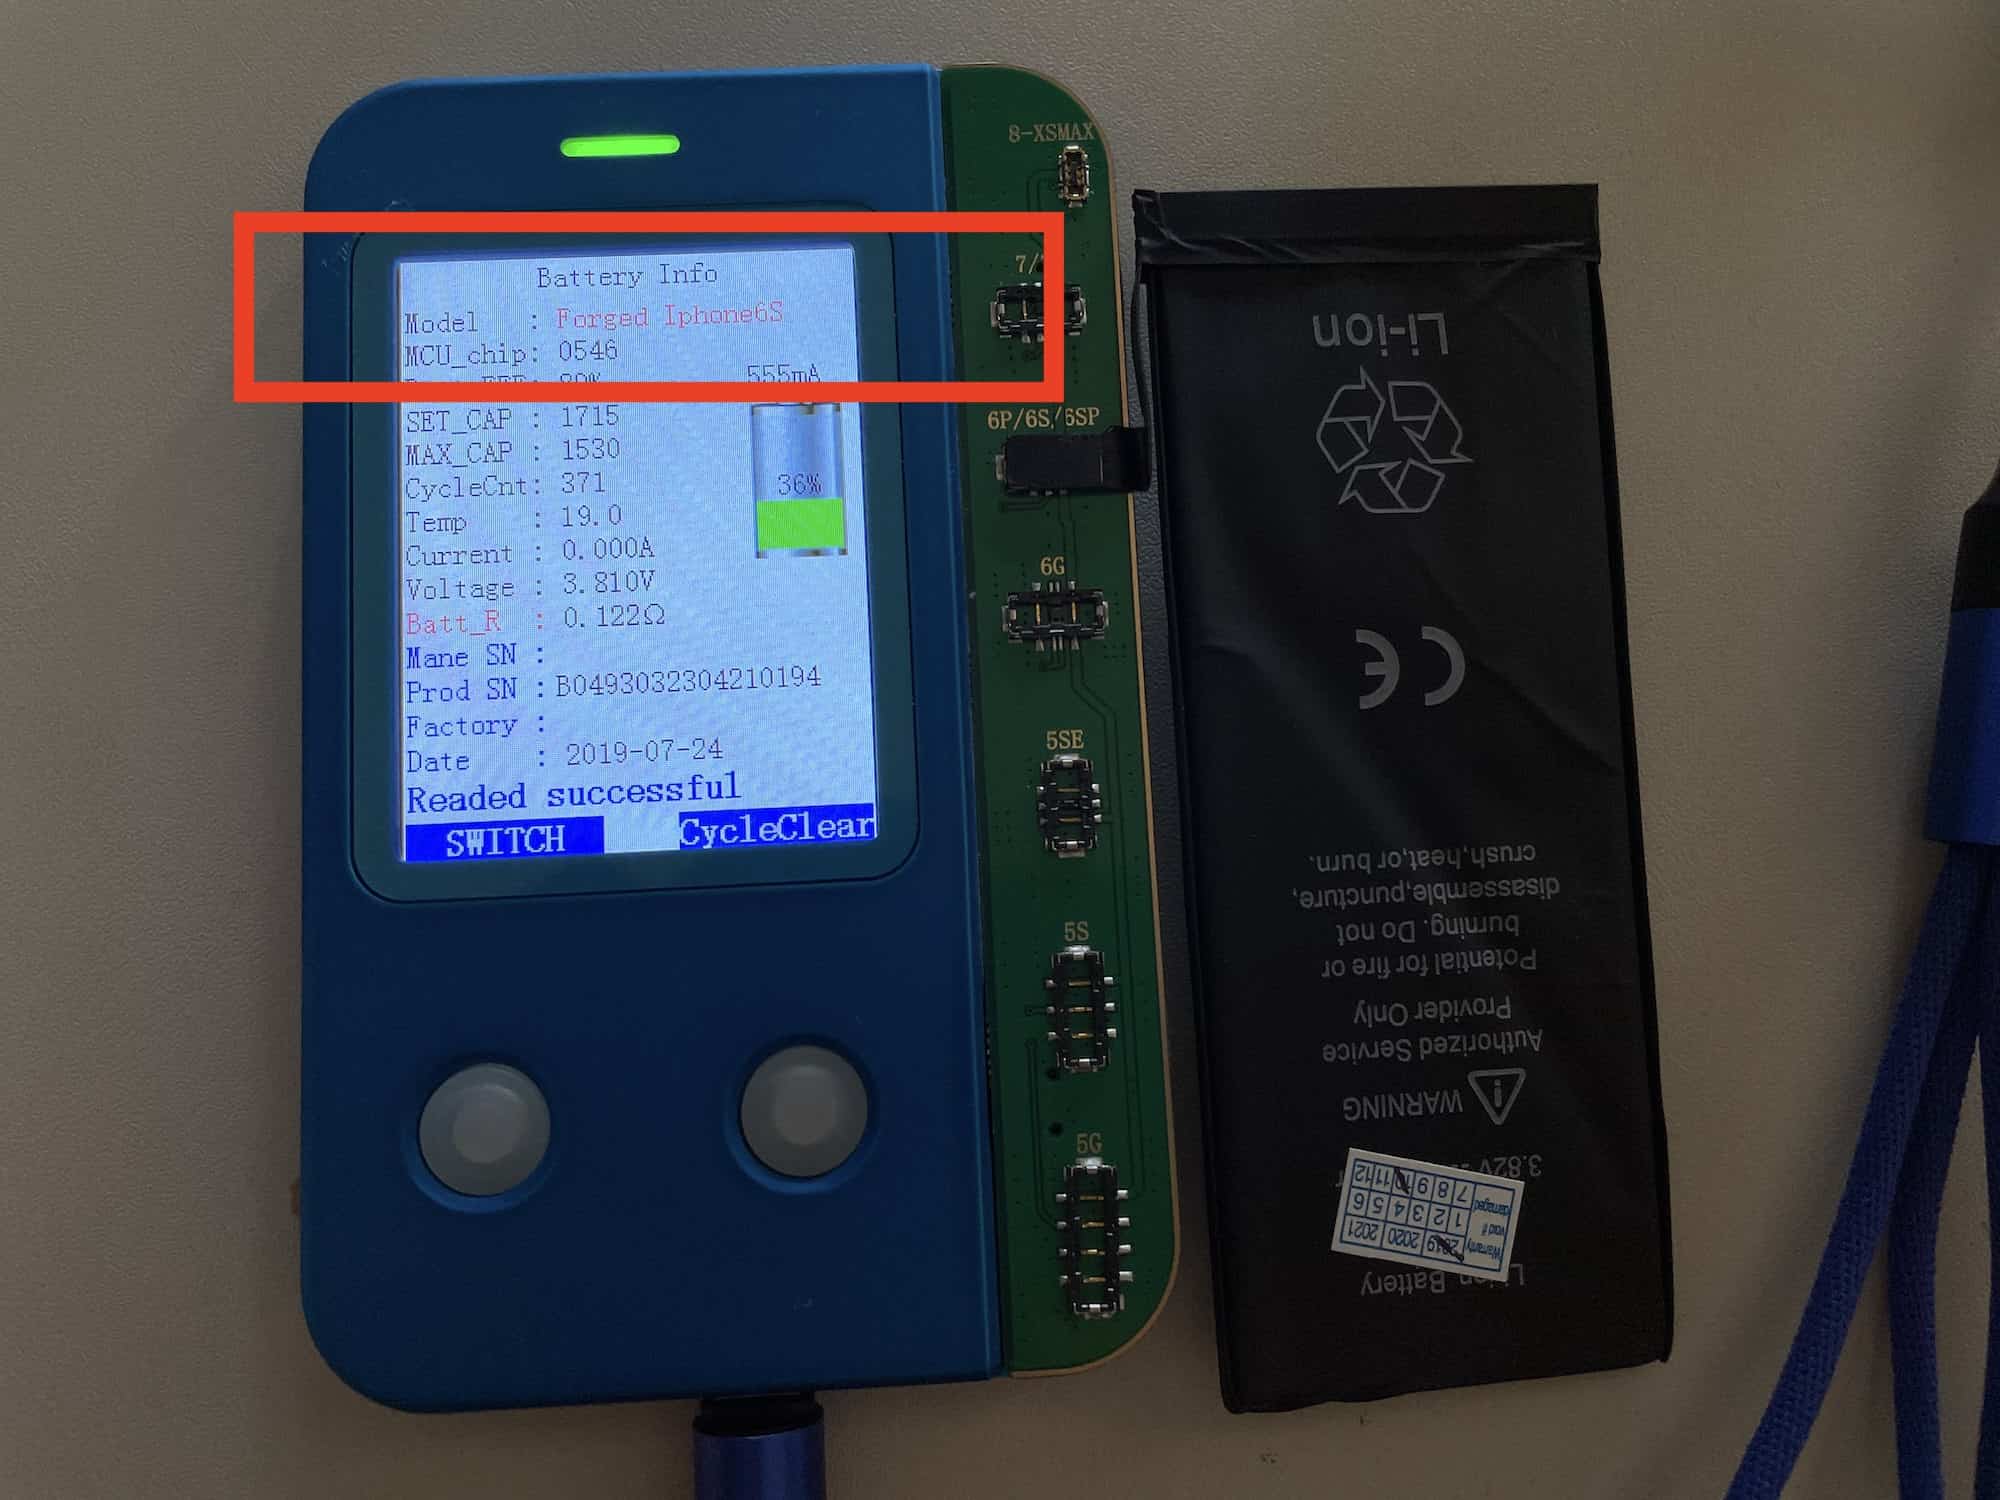
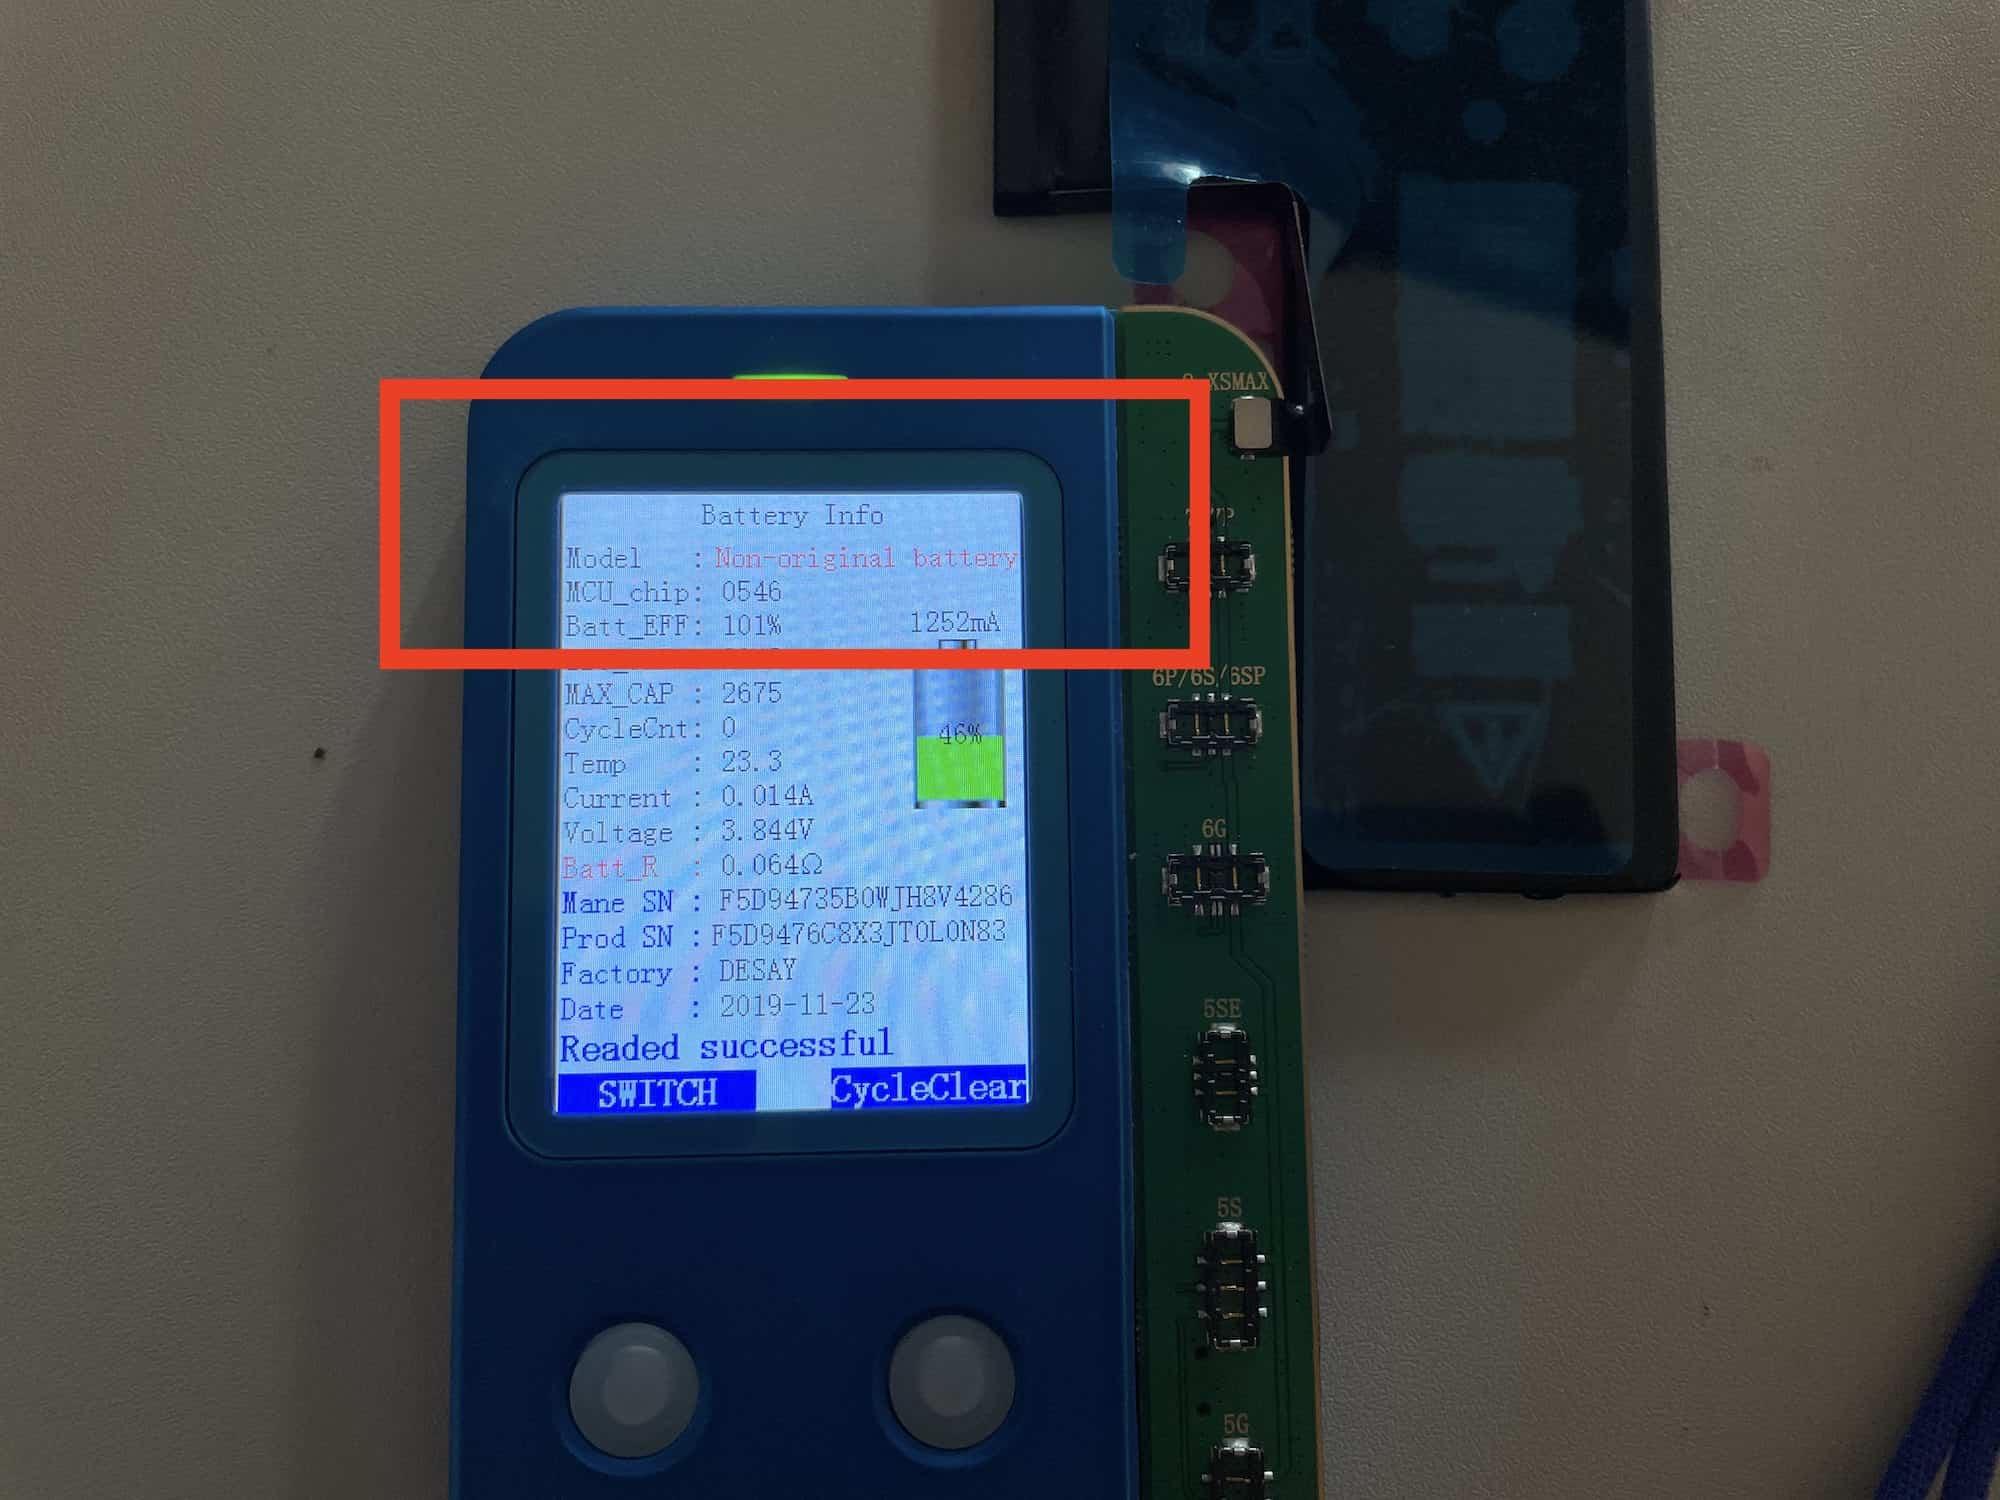
- 200-400 charge cycles
- 6-12 months maximum
- Poor performance from day one
Genuine batteries deliver:
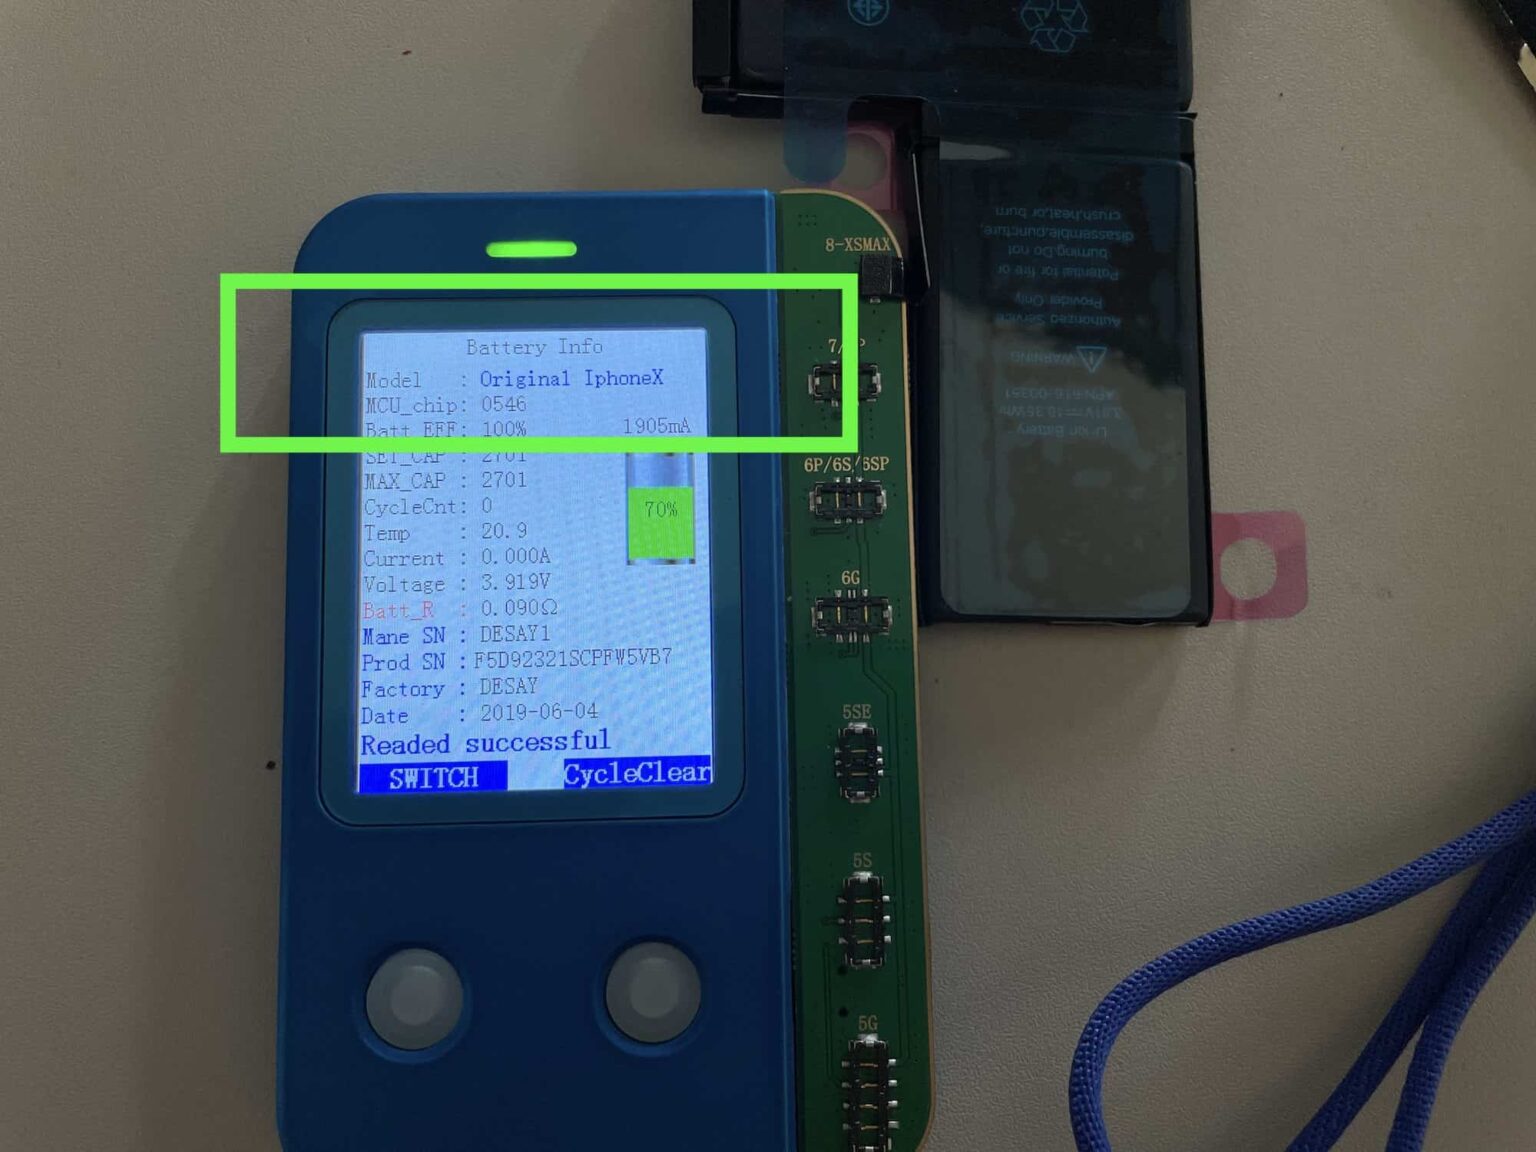

- 500+ charge cycles minimum
- 2+ years reliable service
- Original performance restoration
How to Spot Genuine iPhone Batteries
Use these methods before replacement:
- Battery data reading tools – Professional diagnostic equipment
- CoconutBattery app – Check current battery health and cycle count
- Settings check – Go to Settings > Battery > Battery Health & Charging
A genuine battery shows zero charge cycles when new.
How Long Does iPhone Battery Replacement Take?
Here’s the updated comparison in a two-part table format, covering service times for both professional and DIY battery replacement in Auckland:
Professional Service Times in Auckland
| Service Type | Estimated Time | Notes |
|---|---|---|
| Express Service | 30–45 minutes | While you grab a coffee in Ponsonby |
| Standard Service | Same day pickup | Convenient drop-off and return |
| Busy Periods | Up to 24-hour turnaround | Still faster than most DIY efforts |
DIY Timeline Reality
| Stage | Estimated Time | Notes |
|---|---|---|
| Preparation | 15–30 minutes | Gathering tools and watching guides |
| Replacement | 45–90 minutes | Longer if it’s your first time |
| Troubleshooting | +30–60 minutes | When issues like screen or connector damage occur |
Step-by-Step: How to Replace iPhone Battery (Professional Method)
What We Do at SMASHED IT
- Diagnosis – Confirm battery health and check for other issues
- Genuine parts sourcing – Only authentic Apple batteries
- Professional removal – Specialised tools prevent damage
- Quality installation – Proper adhesive application and sealing
- Testing – Full functionality check before return
- Warranty – 12-month guarantee on parts and labour
iPhone Models We Service
Current popular models in Auckland:
- iPhone 15 series
- iPhone 14 series
- iPhone 13 series
- iPhone 12 series
You can enquire for all other devices. We may repair that as well.
Cost Breakdown: iPhone Battery Replacement Auckland
What Affects Pricing
- iPhone model – Newer models cost more
- Battery type – Genuine vs aftermarket
- Service level – Express vs standard
- Additional repairs – If other issues are discovered
Value Comparison
Genuine battery replacement costs less than:
- New iPhone purchase
- Living with constant charging anxiety
- Carrying power banks everywhere
When NOT to Replace Your iPhone Battery
Sometimes battery replacement isn’t the answer:
Consider Upgrading If:
- Your iPhone is 5+ years old
- Multiple hardware issues exist
- Repair costs exceed 60% of replacement value
- You need newer features for work
Ponsonby iPhone Users: Special Considerations
- Heavy camera usage (Instagram stories, anyone?)
- Frequent GPS navigation around Auckland
- Business users with high demands
Red Flags: Dodgy Battery Replacement Services
Avoid Services That:
- Promise “genuine” batteries at suspiciously low prices
- Can’t show battery testing equipment
- Don’t offer meaningful warranties
- Operate from residential addresses
- Can’t explain their process clearly
Remember: Cheap often means expensive in the long run.
Maximising Your New Battery Life
Pro Tips from SMASHED IT’s Techs
- Avoid extreme temperatures – Don’t leave your iPhone in hot cars during Auckland summer
- Optimised charging – Enable in Settings for better long-term health
- Background app refresh – Limit unnecessary power drain
- Screen brightness – Auto-brightness saves significant power
- Location services – Turn off for apps that don’t need it
Auckland-Specific Battery Tips
- Beach days – Sand and heat are battery killers
- Commuting – Train WiFi switching drains power fast
- Hiking – Airplane mode in low-signal areas saves battery
Summary: iPhone Battery Replacement Action Plan
Quick Decision Framework
| Choose DIY If… | Choose Professional Service If… |
|---|---|
| You’re tech-savvy | You want guaranteed results |
| You have proper tools | You need warranty protection |
| You’re comfortable with risks | You value your time |
| You’re okay voiding any remaining warranties | You want water resistance maintained |
Key Takeaways
- Genuine batteries matter – Fakes waste your money
- Professional installation – Prevents costly mistakes
- Timing matters – Replace when health drops below 80%
- Local expertise – Auckland conditions need local knowledge
Ready for Expert iPhone Battery Replacement?
Don’t let a dying battery slow down your Auckland lifestyle. Our Parnell and Ponsonby stores offer same-day genuine battery replacement with warranties. Papakura residents can visit our trusted partner store.
Get your iPhone battery sorted today – because life’s too short for charging anxiety.


