NVMe SSD: Make Your MacBook 2013-2016 Up to 10x Faster
Your trusty MacBook from 2013-2016 starting to feel like it’s moving through golden syrup? You’re not alone, mate. Thousands of Aucklanders are discovering that their once-speedy MacBooks have become frustratingly sluggish over the years.
But here’s the good news: you don’t need to fork out $3,000+ for a new MacBook when a simple NVMe SSD upgrade can breathe new life into your existing machine.
As Praveen from SMASHED IT, I’ve personally upgraded hundreds of MacBooks across Auckland from busy professionals in Parnell to students in Ponsonby and the results consistently blow people away.
Let me walk you through exactly how to make your old MacBook run like new again.
Table of Contents
Why Your 2013-2016 MacBook Has Slowed Down (And Why NVMe SSDs Are the Game-Changer)
Before we dive into the solution, let’s quickly understand what’s happening under the hood. Your MacBook’s original storage drive has been working overtime for years, and traditional hard drives or even older SSDs simply can’t keep up with modern software demands.
The problem: Older MacBooks shipped with either traditional hard drives or SATA SSDs that max out at around 500MB/s read speeds. Today’s applications, operating systems, and file sizes have grown exponentially, creating a massive bottleneck.
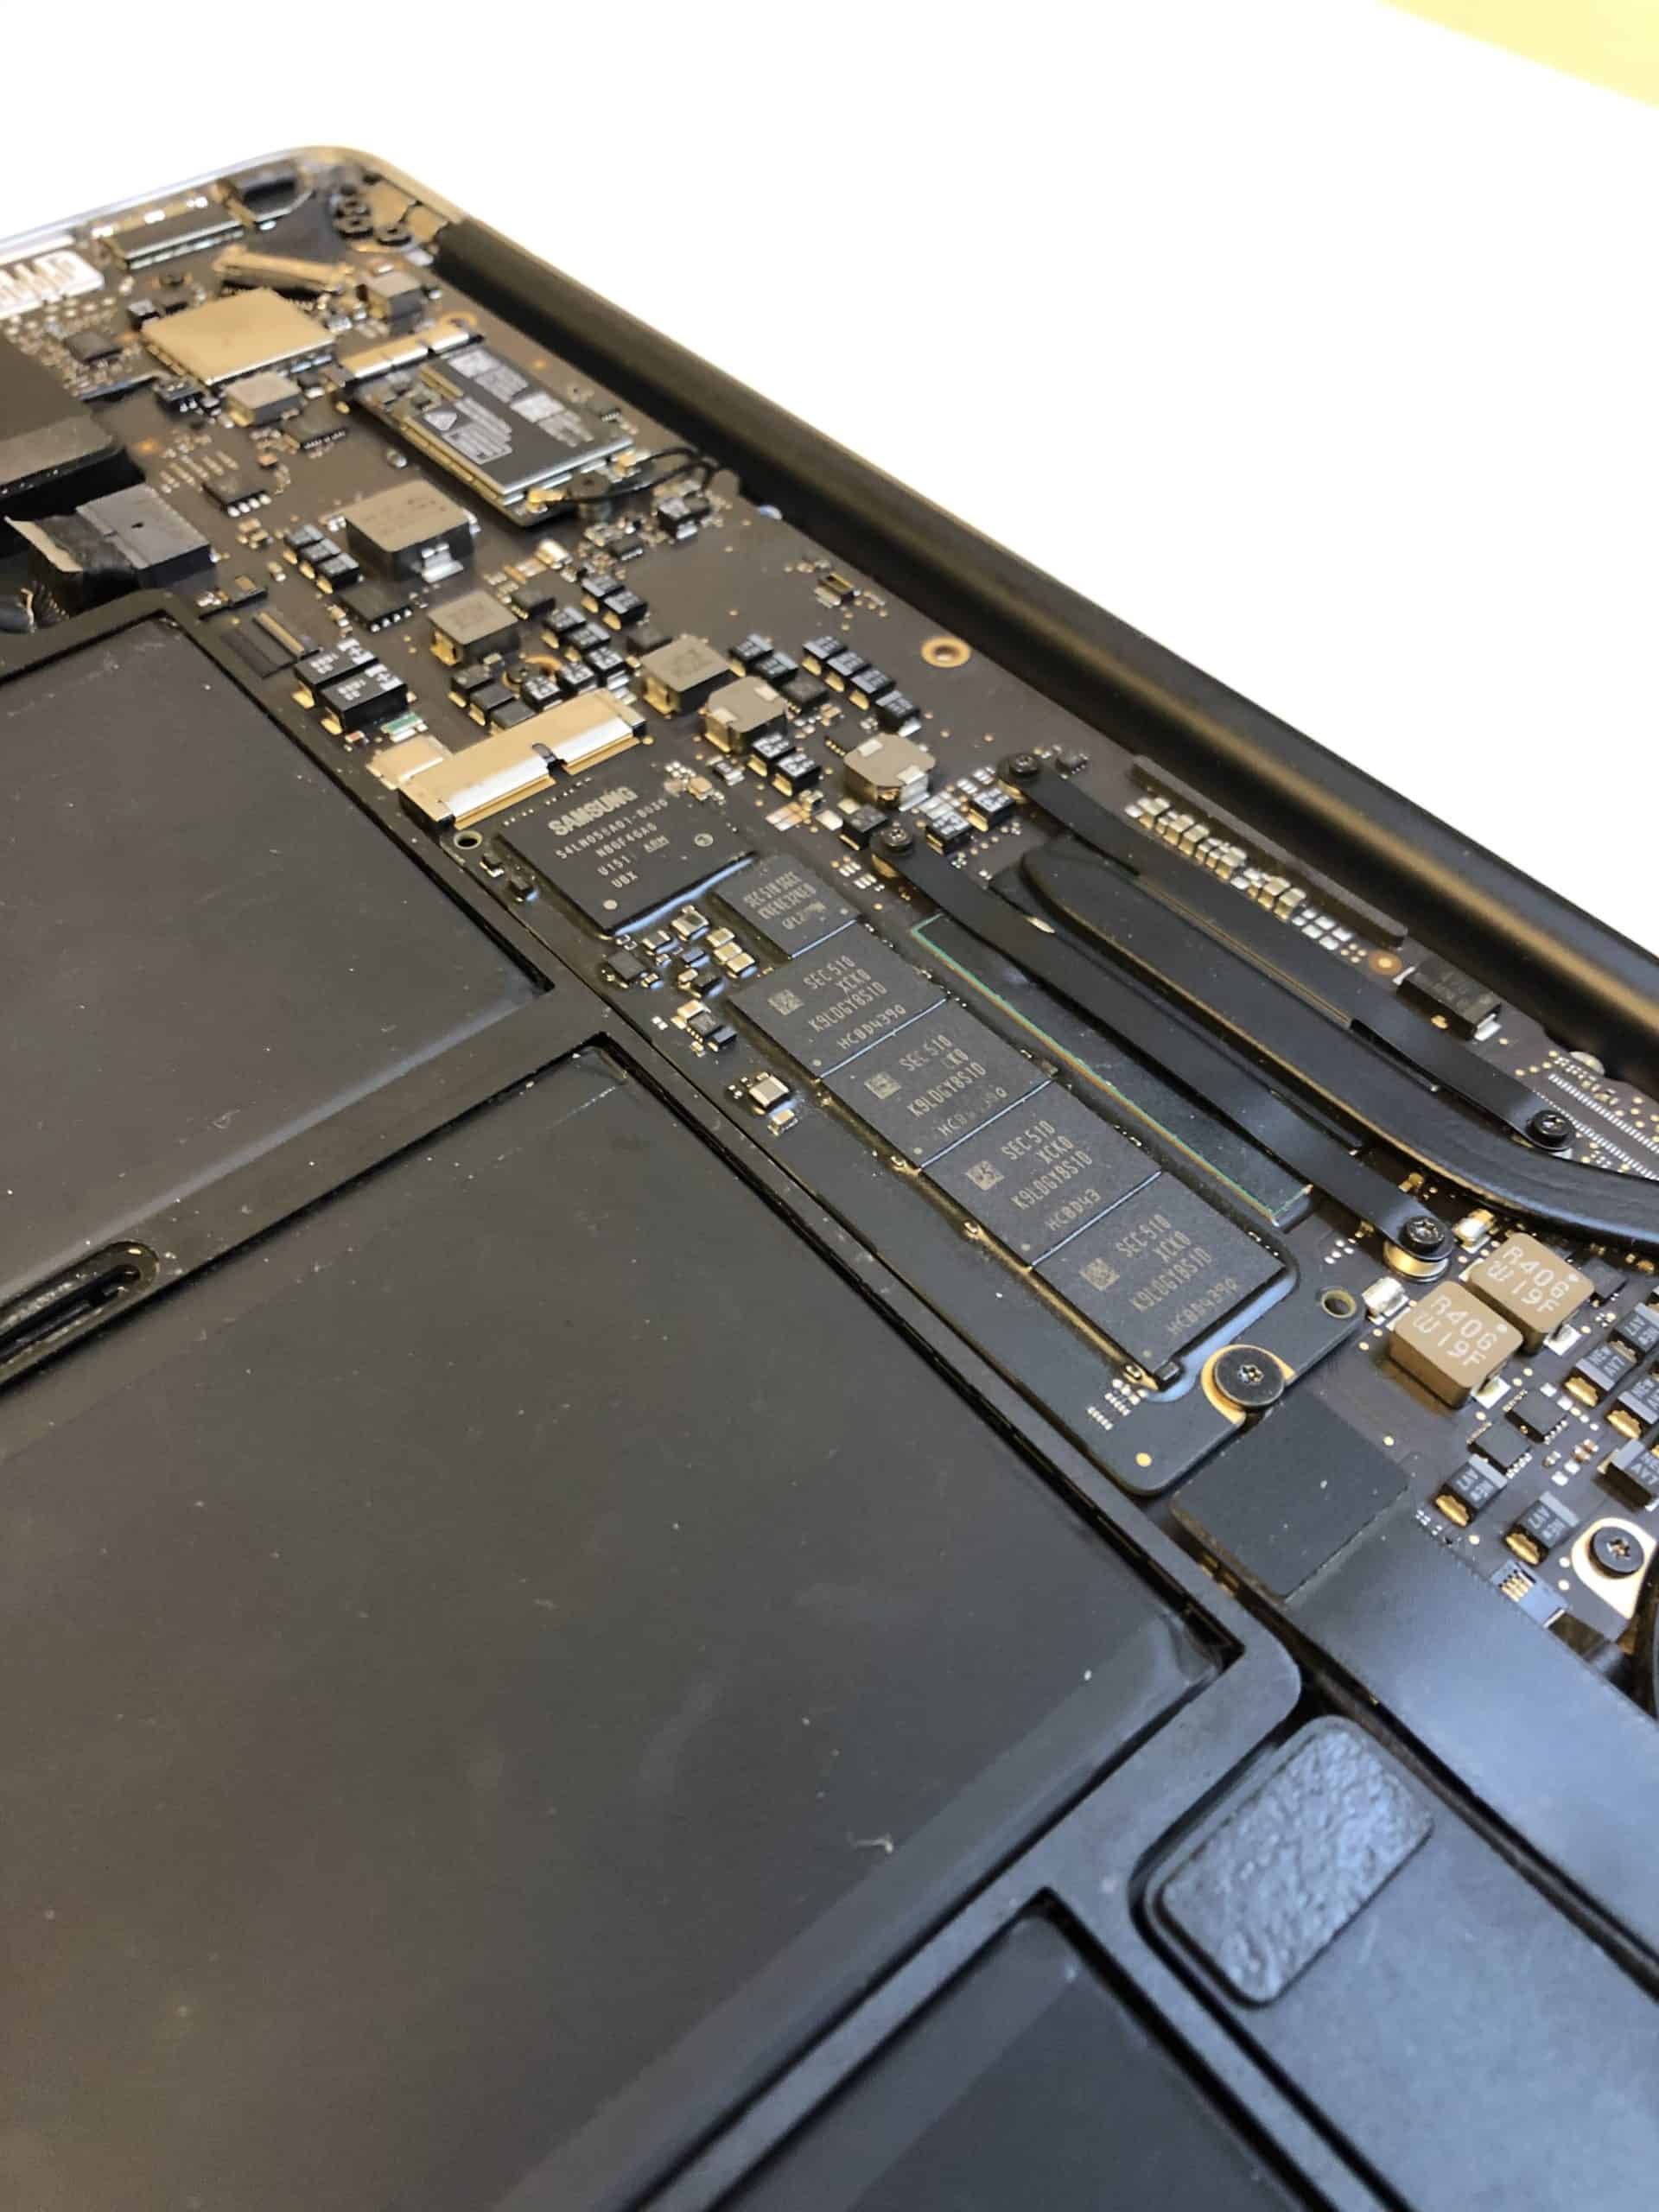
The solution: NVMe (Non-Volatile Memory Express) SSDs can deliver read speeds of 3,000-7,000MB/s—that’s literally 6-14 times faster than your current setup. This isn’t just marketing fluff; it’s the real deal that transforms how your MacBook performs.
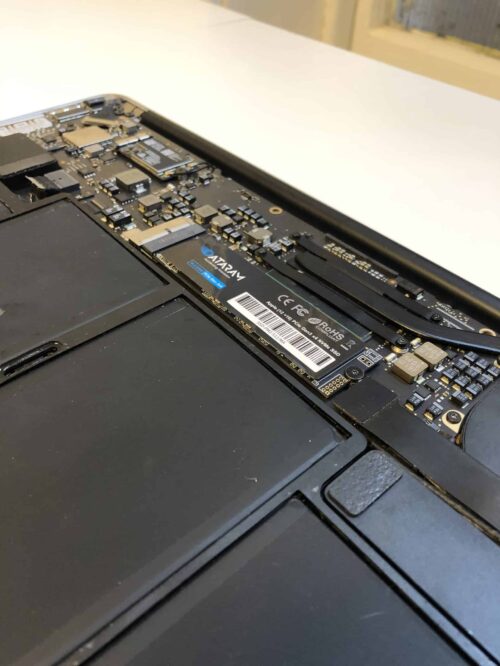
How NVMe SSD Upgrades Improve Old MacBook Performance Up to 10x Faster
When Kiwi tradies, creative professionals, and students ask me “would an NVMe SSD improve an old MacBook’s performance?” the answer is always a resounding yes. Here’s what you can expect:
Immediate Performance Improvements:
- Boot times: From 2-3 minutes down to 15-30 seconds
- Application launches: Photoshop, Final Cut Pro, and other heavy apps open in seconds, not minutes
- File transfers: Moving large video files or photo libraries becomes lightning-fast
- System responsiveness: No more beach balls or frozen applications
- Multitasking: Run multiple apps simultaneously without performance drops
The Complete Guide: How to Speed Up Older MacBooks with NVMe SSD Installation
Right, let’s get your hands dirty. This upgrade requires some technical know-how, but it’s absolutely doable if you’re handy with tools.
However, if you’re not comfortable opening up your MacBook, our team at SMASHED IT can handle this for you with our warranty-backed service.
What You’ll Need:
- Compatible NVMe SSD (we recommend specific models based on your MacBook year)
- Pentalobe and Torx screwdrivers
- Anti-static wrist strap (optional but recommended)
- Time Machine backup of your current system
Step 1: Update Your MacOS Before Hardware Installation
This step is absolutely crucial—don’t skip it, or you’ll run into compatibility issues later.
Update your MacBook to one of these supported versions:
- High Sierra 10.13
- Mojave 10.14
- Catalina 10.15
- Big Sur 11.0 (recommended for best performance)
Why this matters: Newer macOS versions have better NVMe drivers and support, ensuring your upgrade delivers maximum performance gains.
Once updated, completely shut down your MacBook before proceeding to the hardware installation.
Step 2: Physical NVMe SSD Installation
Warning: This involves opening your MacBook. If you’re not confident, book a session with us at SMASHED IT rather than risk damaging your device.
The installation process varies slightly between MacBook models, but generally involves:
- Power down completely and disconnect all cables
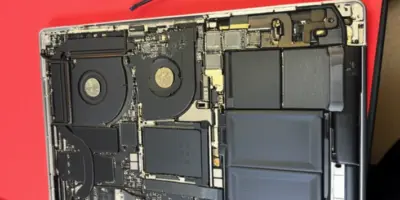
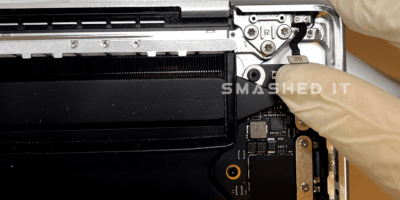
- Remove the bottom case using appropriate screwdrivers
- Locate the existing storage drive (usually a small card-like component)
- Carefully disconnect and remove the old drive
- Install the new NVMe SSD ensuring proper seating and connection
- Reassemble your MacBook in reverse order
Pro tip from years of repairs: Take photos as you disassemble—it makes reassembly much easier.
Step 3: Boot into Recovery Mode
Here’s where the magic happens. You need to boot into Internet Recovery Mode to install macOS on your new NVMe SSD.

The exact process:
- Hold down Option + Command + R while pressing the power button
- Keep holding until you see the Apple logo or spinning globe
- Release the keys once you see these indicators
Common mistake: If your MacBook boots into regular macOS, you’ve missed the timing. Simply restart and try again—it takes a bit of practice to get the timing right.
Step 4: Connect to WiFi and Install macOS
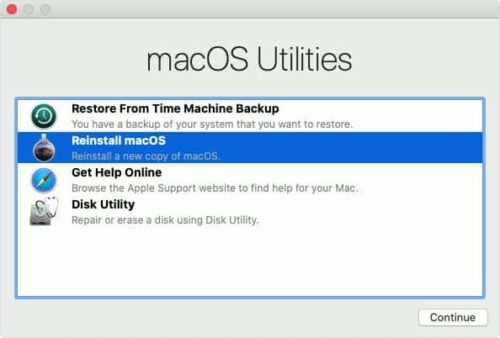
Once in Recovery Mode:
- Connect to your WiFi network when prompted
- Wait for Recovery Mode to load (this can take a few minutes)
- Select “Install macOS” from the utilities menu
- Choose your new NVMe SSD as the destination drive
- Follow the installation prompts
You can either:
- Install a fresh copy of macOS (recommended for maximum performance)
- Restore from your Time Machine backup (if it’s running a compatible macOS version)
The installation process typically takes 30-60 minutes, depending on your internet speed and chosen macOS version.
Real-World Performance Results: What Auckland MacBook Users Experience
Based on our experience upgrading MacBooks across central Auckland, here’s what you can realistically expect:
Before NVMe SSD Upgrade:
- Boot time: 2-3 minutes
- Photoshop launch: 45-60 seconds
- Large file copy (1GB): 2-3 minutes
- Overall system responsiveness: Sluggish with frequent freezing
After NVMe SSD Upgrade:
- Boot time: 15-30 seconds
- Photoshop launch: 5-10 seconds
- Large file copy (1GB): 10-15 seconds
- Overall system responsiveness: Snappy and responsive
These aren’t exaggerated marketing claims—these are real results from real MacBooks we’ve upgraded in our Parnell, Papakura, and Ponsonby locations.
Is an NVMe SSD Upgrade Worth It for Your MacBook?
The short answer: absolutely. Here’s the math that makes sense for Auckland users:
Cost of NVMe upgrade: $300-600 (depending on capacity and installation) Cost of new MacBook: $2,000-4,000+ Performance improvement: Up to 10x faster in real-world usage Extended MacBook lifespan: 3-5 additional years of productive use
For most Auckland professionals, students, and creatives, this upgrade pays for itself within months through improved productivity and delayed replacement costs.
Troubleshooting Common NVMe SSD Installation Issues
Even with careful installation, you might encounter some hiccups. Here are solutions to the most common problems we see:
MacBook Won’t Boot After Installation:
- Check SSD seating: Ensure the NVMe SSD is properly seated and connected
- Verify compatibility: Some MacBook models require specific NVMe SSD types
- Reset SMC: Sometimes a System Management Controller reset resolves boot issues
Slow Performance Despite New SSD:
- Confirm NVMe detection: Check if macOS recognizes the drive as NVMe (not SATA)
- Enable TRIM: Ensure TRIM is enabled for optimal SSD performance
- Fresh macOS install: Sometimes a clean installation performs better than restored backups
Recovery Mode Issues:
- Internet connection: Ensure stable WiFi during recovery
- Try different key combination: Some models require slightly different timing
- Contact SMASHED IT: If you’re stuck, we’re here to help troubleshoot
Beyond Storage: Other Ways to Speed Up Your MacBook
While NVMe SSD upgrades provide the most dramatic improvement, here are additional tweaks that complement your new storage:
- RAM upgrade (if your model supports it)
- Clean installation of macOS for optimal performance
- Regular maintenance including cache clearing and disk permissions repair
- Remove startup items that slow down boot times
- Update applications to versions optimized for your macOS
Why Choose SMASHED IT for Your MacBook NVMe Upgrade
Look, I’ll be straight with you—this upgrade isn’t rocket science, but it does require precision and the right tools. After years of upgrading MacBooks across Auckland, I’ve seen plenty of DIY attempts gone wrong, from damaged logic boards to incorrectly seated SSDs.
Our SMASHED IT advantage:
- Local expertise: We understand Auckland users’ specific needs and usage patterns
- Warranty protection: All our upgrades come with comprehensive warranties
- Quality components: We source premium NVMe SSDs with proven compatibility
- Multiple locations: Convenient service in Parnell, Papakura, and Ponsonby
- Quick turnaround: Most upgrades completed within 24-48 hours
Ready to Make Your MacBook Lightning-Fast Again?
If you’re ready to experience the dramatic performance boost that an NVMe SSD upgrade provides, you have two options:
Option 1: DIY Installation Follow the steps outlined above, ensuring you have the right tools and take proper precautions.
Option 2: Professional Installation Visit SMASHED IT at one of our Auckland locations for expert installation with warranty protection.
Need a repair quote? Visit our stores in Auckland, or mail us your device NZ wide.
Don’t let a slow MacBook hold back your productivity. Whether you’re a creative professional in Ponsonby, a business owner in Parnell, or a student anywhere in Auckland, an NVMe SSD upgrade will transform how you use your MacBook.
Ready to make your MacBook up to 10x faster? Get in touch with SMASHED IT today and let’s get your MacBook running like it’s 2025 again.
